


Complete the challenge and share your results on social media with @BramptonLibrary #kidsatBL!
This week’s challenge:
This week, we will be creating our very own 3D glasses, and exploring the concepts behind creating 3D drawings!
Supplies you will need:
- Tape
- Scissors
- Red plastic
- Blue plastic
- 3D glasses template
- Paper
- Optional: Red and blue markers, crayons or pencil crayons
Building your glasses
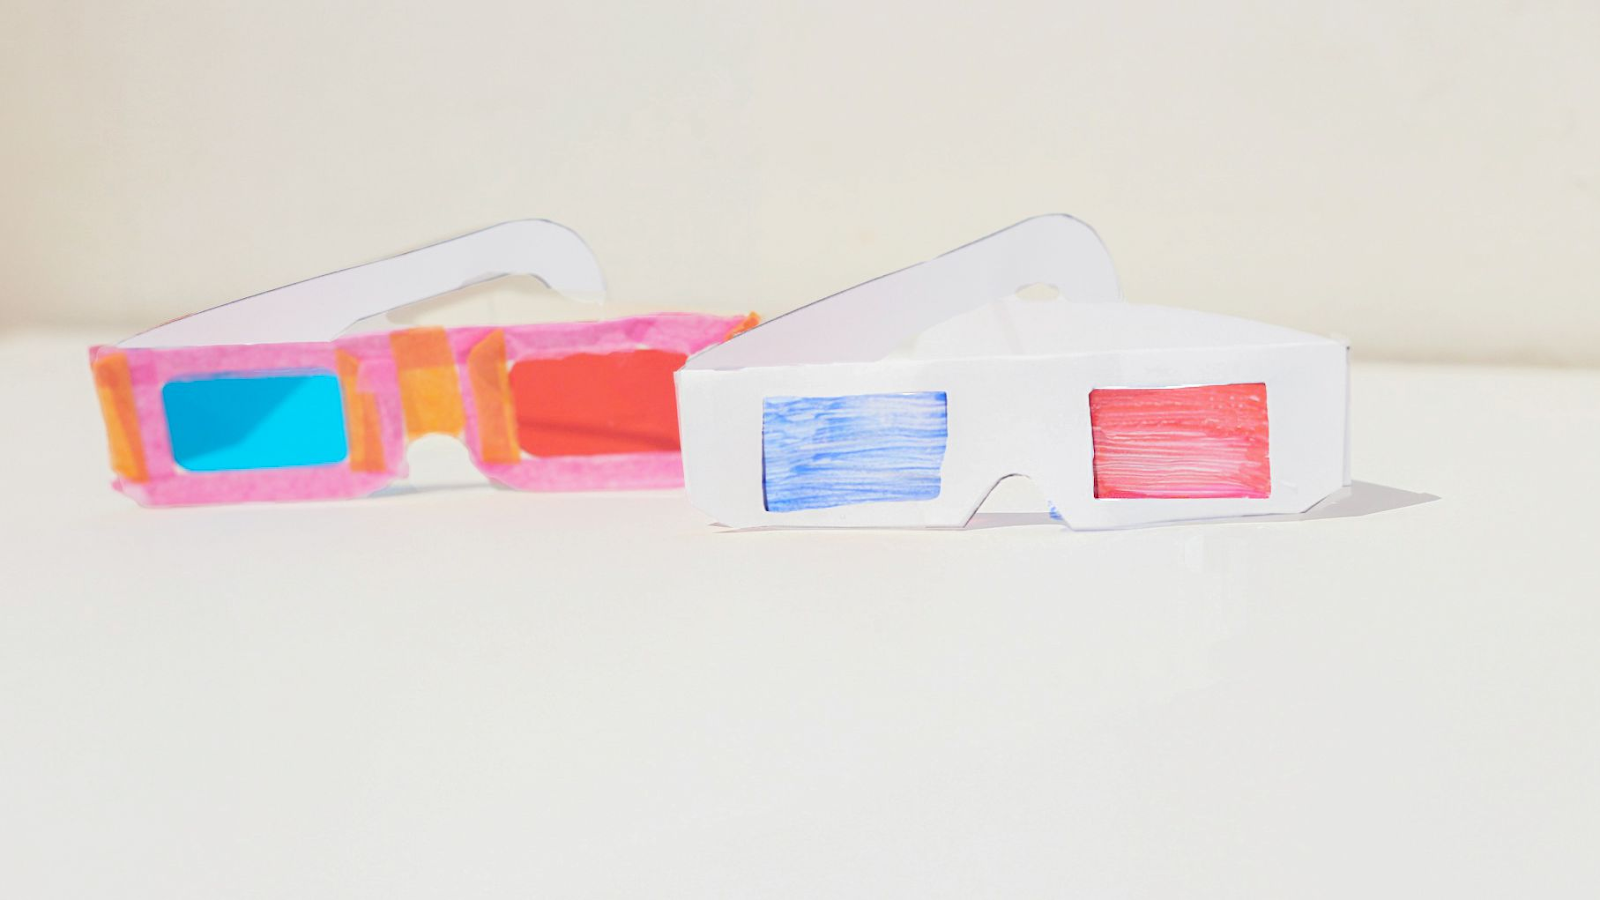
- Print out the 3D glasses template, or trace a pair of glasses. Cut these out, including the eye holes, and tape together.
- Tape the red filter to the left eye, and the blue filter to the right eye.
How do they work?
- How we see
- Our eyes see by sensing the light that objects reflect. We can see in bright light and dim light, but we cannot see when there is no light at all.
- When we look at an object, the rays of light enter the front of the eye. The eye changes these rays into signals that are sent to the brain.
- The brain forms a picture from the signals sent to the mind. Our eyes and brains work together to help us see.
- Stereoscopy
- Stereoscopy is the viewing of an object in three dimensions. The eyes are 6-7cm apart, so each eye sees at a slightly different angle, and sends slightly different messages to the brain.
- To see how this works, try looking at a nearby object with one eye closed, then with the other. Does it look a little bit different?
- The brain pulls the two images together, in what we call stereoscopy vision. The image formed by the brain has dimension and shape.
- Anaglyph 3D images
- An anaglyph is a picture consisting of two images combined together, one printed in red, the other in blue. When we look at the image with a red light filter over one eye and a blue over the other, we see a stereoscopic, or 3D, effect.
Creating your own 3D images
- We can create a 3D anaglyph by drawing a simple image with a red pencil and then drawing the same image on top with a blue pencil.
- There are a few different ways you can do this:
- You can draw with one colour (i.e. red) first, and then draw with the second colour (i.e. blue) second; OR
- You can use tape or a rubber band to keep your red and blue pencils/markers together as you draw; OR
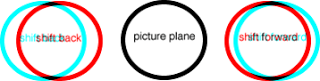
- You can draw in regular pencil first, then on a new page trace your drawing in red, then shift the top page slightly to trace it again in blue. Here’s an example of how this works.
- If you want part of your image to seem further away, draw the blue image on the left-hand side and the red image on the right. If you want it to seem closer, draw the red image on the left and the blue on the right.
- Start by drawing simple shapes, like a box, to practice getting the lines the right distance apart.
- Once you’ve mastered the lines, try some more complex drawings.
- Why not also check out these anaglyph images of Mars, or this 3D Rollercoaster ride!


And don’t forget to share your creations with us, @BramptonLibrary #kidsatBL!
If you liked this activity, you might enjoy these free resources from our digital library:

Stem Lab by Jack Challoner and the Smithsonian Institution (non-fiction book/eBook, recommended for 8-12 years)

First How Things Work Encyclopedia, by DK (non-fiction book/eBook, recommended for 6-12 years)

Resources for grown-ups:
 905-793-4636